- 联系我们
- duidaima.com 版权声明
- 闽ICP备2020021581号
-
 闽公网安备 35020302035485号
闽公网安备 35020302035485号

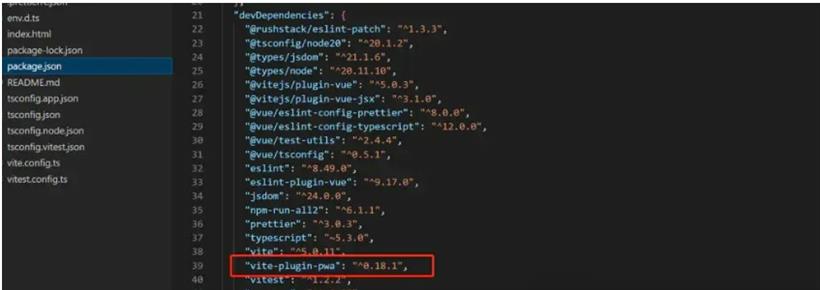
$ npm i vite-plugin-pwa -D配置
// vite.config.ts
import { fileURLToPath, URL } from 'node:url'

import { defineConfig } from 'vite'
import vue from '@vitejs/plugin-vue'
import vueJsx from '@vitejs/plugin-vue-jsx'
import { VitePWA } from 'vite-plugin-pwa'
// 堆代码 duidaima.com
// https://vitejs.dev/config/
export default defineConfig({
  plugins: [
    vue(),
    vueJsx(),
    VitePWA({
        registerType:"autoUpdate",
        devOptions: {
            enable: true,
        }
    }), // 添加vite-plugin-pwa插件支持
  ],
  resolve: {
    alias: {
      '@': fileURLToPath(new URL('./src', import.meta.url))
    }
  }
})
/**
 * Plugin options.
 */
interface VitePWAOptions {

    mode?: 'development' | 'production';
    srcDir?: string; // 默认public
    outDir?: string; // 默认dist
    filename?: string; // 默认sw.js
    manifestFilename?: string; // 默认 manifest.webmanifest
    strategies?: 'generateSW' | 'injectManifest'; // 默认 generateSW
    scope?: string; // 注册 service worker范围
    injectRegister: 'inline' | 'script' | 'script-defer' | 'auto' | null | false; // 默认auto
    registerType?: 'prompt' | 'autoUpdate'; // 默认 prompt
    minify: boolean; // 默认 true
    manifest: Partial<ManifestOptions> | false; // manifest配置对象
    useCredentials?: boolean; // 是否添加crossorigin="use-credentials"到<link rel="manifest">,默认false
    workbox: Partial<GenerateSWOptions>; // google workbox配置对象,
    injectManifest: Partial<CustomInjectManifestOptions>;
    base?: string; // 覆盖vite的base配置,仅仅对于pwa
    includeAssets: string | string[] | undefined;
    includeManifestIcons: boolean;
    disable: boolean; // 是否在“生成”上禁用service worker注册和生成?默认false
    integration?: PWAIntegration; // Vite PWA集成
    devOptions?: DevOptions; // 开发环境配置
    selfDestroying?: boolean; // 是否销毁service worker,默认false
    buildBase?: string; // 构建配置,默认使用vite.config.ts中的配置
}
2、添加mainfest配置import { defineConfig } from 'vite'
...
import { VitePWA } from 'vite-plugin-pwa'
// https://vitejs.dev/config/
export default defineConfig({
plugins: [
......
VitePWA({
manifest: {
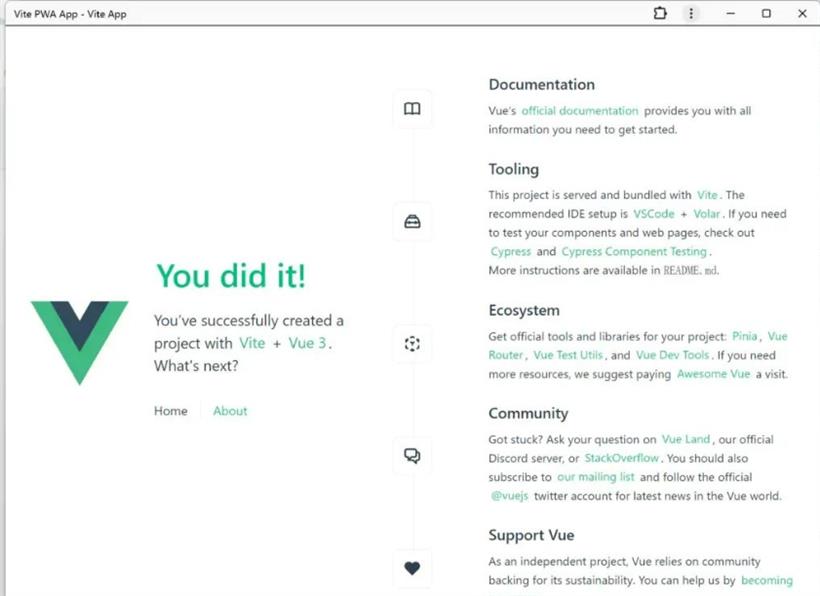
name: 'Vite PWA App',
short_name: 'v-pwa',
description: '一个Vite PWA测试APP',
theme_color: '#fafafa',
icons: [
{
src: '/icons/icon-192x192.png',
sizes: '192x192',
type:'image/png',
},
{
src: '/icons/icon-512x512.png',
sizes: '512x512',
type: 'image/png',
}
],
shortcuts: [ // 配置快捷方式,指定打开页面地址
{
name: "打开首页", // 快捷方式名称
short_name: "首页", // 快捷方式简称
description: "打开首页", // 快捷方式描述
url: "/", // 快捷方式链接地址
icons: [{ src: "/favicon.ico", sizes: "36x36" }], // 快捷方式图标配置
},
]
},
})
],
......
})
3、配置workboximport { defineConfig } from 'vite'
...
import { VitePWA } from 'vite-plugin-pwa'
const getCache = ({ name, pattern }: any) => ({
urlPattern: pattern,
handler: 'CacheFirst' as const,
options: {
cacheName: name,
expiration: {
maxEntries: 500,
maxAgeSeconds: 60 * 60 * 24 * 365 * 2 // 2 years
},
cacheableResponse: {
statuses: [200]
}
}
})
// https://vitejs.dev/config/
export default defineConfig({
plugins: [
......
VitePWA({
workbox: {
globPatterns: ['**/*.{js,css,html,ico,png,jpg,svg}'], //缓存相关静态资源
runtimeCaching: [
// 配置自定义运行时缓存
getCache({
pattern: /^https:\/\/enjoytoday.cn\/wp-uploads/,
name: 'local-upload'
}),
getCache({
pattern: /^https:\/\/app.enjoytoday.cn/,
name: 'webapp'
})
]
}
})
],
......
})
4、完整配置import { fileURLToPath, URL } from 'node:url'
import { defineConfig } from 'vite'
import vue from '@vitejs/plugin-vue'
import vueJsx from '@vitejs/plugin-vue-jsx'
import { VitePWA } from 'vite-plugin-pwa'
const getCache = ({ name, pattern }: any) => ({
urlPattern: pattern,
handler: 'CacheFirst' as const,
options: {
cacheName: name,
expiration: {
maxEntries: 500,
maxAgeSeconds: 60 * 60 * 24 * 365 * 2 // 2 years
},
cacheableResponse: {
statuses: [200]
}
}
})
// https://vitejs.dev/config/
export default defineConfig({
plugins: [
vue(),
vueJsx(),
VitePWA({
manifest: {
name: 'Vite PWA App',
short_name: 'v-pwa',
description: '一个Vite PWA测试APP',
theme_color: '#fafafa',
icons: [
{
src: '/icons/icon.png',
sizes: '192x192',
type: 'image/png'
},
{
src: '/icons/icon.png',
sizes: '512x512',
type: 'image/png'
}
],
shortcuts: [
{
name: '打开首页', // 快捷方式名称
short_name: '首页', // 快捷方式简称
description: '打开首页', // 快捷方式描述
url: '/', // 快捷方式链接地址
icons: [{ src: '/favicon.ico', sizes: '36x36' }] // 快捷方式图标配置
}
]
},
registerType: "autoUpdate", // 注册类型配置
devOptions: {
enabled: true, // 开发选项配置,启用插件
},
workbox: {
globPatterns: ['**/*.{js,css,html,ico,png,jpg,svg}'], //缓存相关静态资源
runtimeCaching: [
// 配置自定义运行时缓存
getCache({
pattern: /^https:\/\/enjoytoday.cn\/wp-uploads/,
name: 'local-upload'
}),
getCache({
pattern: /^https:\/\/app.enjoytoday.cn/,
name: 'webapp'
})
]
}
})
],
resolve: {
alias: {
'@': fileURLToPath(new URL('./src', import.meta.url))
}
}
})
应用安装// 在主入口监听PWA注册事件,如main.ts
window.addEventListener('beforeinstallprompt', (e) => {
e.preventDefault()
window.deferredPrompt = e
})
// 在具体页面添加安装,如App.vue
<script setup lang="ts">
import { RouterLink, RouterView } from 'vue-router'
import HelloWorld from './components/HelloWorld.vue'
// 若浏览器支持,则这里会出发安装操作
const openAddFlow = () => {
try {
window.deferredPrompt.prompt()
window.deferredPrompt.userChoice.then((choiceResult) => {
if (choiceResult.outcome === 'accepted') {
// showAddToDesktop.value = false
localStorage.setItem('addDesktop', true)
} else {
console.log('User dismissed the A2HS prompt')
}
window.deferredPrompt = null
})
} catch {
//
}
}
</script>
<template>
<header>
<img alt="Vue logo" class="logo" src="@/assets/logo.svg" width="125" height="125" @click="openAddFlow"/>
<div class="wrapper">
<HelloWorld msg="You did it!" />
<nav>
<RouterLink to="/">Home</RouterLink>
<RouterLink to="/about">About</RouterLink>
</nav>
</div>
</header>
<RouterView />
</template>
2、应用安装