- 联系我们
- duidaima.com 版权声明
- 闽ICP备2020021581号
-
 闽公网安备 35020302035485号
闽公网安备 35020302035485号

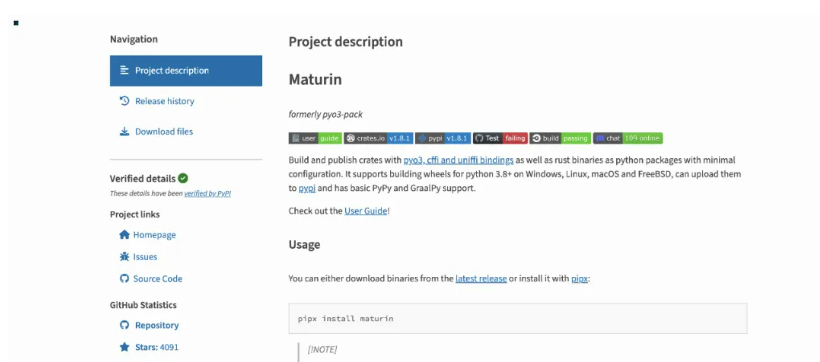
pip install maturin它包含了maturin二进制文件,这是一个命令行界面。
# 堆代码 duidaima.com
$ maturin --help

maturin 0.12.9
Build and publish crates with pyo3, rust-cpython and cffi bindings as well as rust binaries as
python packages

USAGE:
    maturin <SUBCOMMAND>

OPTIONS:
-h,--help       Print help information
-V,--version    Print version information

SUBCOMMANDS:
    build          Build the crate into python packages
    develop        Installs the crateas module in the current virtualenv
    help           Print this message or the help of the given subcommand(s)
    init           Create a new cargo project in an existing directory
    list-python    Searches and lists the available python installations
    new            Create a new cargo project
    publish        Build and publish the crateas python packages to pypi
    sdist          Build only a source distribution(sdist) without compiling
    upload         Uploads python packages to pypi
maturin可执行文件提供了几个选项。让我们聚焦于build和develop这两个选项。develop:在开发和调试项目时非常有用。此命令构建新创建的共享库并直接将其安装到Python模块中。
$ maturin new --help
maturin-new
Create a new cargo project
USAGE:
    maturin new [OPTIONS]<PATH>
ARGS:
<PATH>Project path

OPTIONS:
-b,--bindings <BINDINGS>Which kind of bindings to use[possible values: pyo3, rust-cpython,
                                 cffi, bin]
-h,--help                   Print help information
--mixed                  Use mixed Rust/Python project layout
--name <NAME>Set the resulting package name, defaults to the directory name
对于我们的项目,通过使用选项 --bindings pyo3和 --mixed my_project来初始化一个带有PyO3绑定的Python/Rust混合项目。这里的my_project参数与本示例的目标项目目录相对应。maturin new --bindings pyo3 --mixed my_project生成的项目在my_project目录中集成了一个Python包、一个Rust项目定义文件Cargo.toml以及一个基于Rust的src目录。
$ tree my_project

my_project
├──Cargo.toml
├── my_project
│└── __init__.py
├── pyproject.toml
├── src
│└── lib.rs
└── test
└── test.py

3 directories,5 files
好了,我们已经有了基本的项目框架。现在可以添加一个简单的Rust函数来对外暴露了。
→ rust «my_project/src/lib.rs»=

use pyo3::prelude::*;(1)

(2)
<<functions>>

#[pymodule]
fnmy_project(_py:Python, m:&PyModule)->PyResult<()>{
(3)
<<function_declarations>>
Ok(())
}
(4)
<<tests>>
(1) 我们引入Py03的定义和宏。→ rust «functions»=
#[pyfunction](1)
fnis_prime(num:u32)->bool{
match num {
0|1=>false,
_ =>{
letlimit=(num asf32).sqrt()asu32;(2)
(2..=limit).any(|i| num % i ==0)==false(3)
}
}
}
(1) Rust宏#[pyfunction]会生成用于Python绑定的代码。→ rust «function_declarations» = m.add_function(wrap_pyfunction!(is_prime, m)?)?;在 <<测试>> 代码块中,添加一些简单的单元测试。
→ rust «tests»=

#[cfg(test)]
mod tests {
use super::*;

#[test]
fnsimple_test_false(){
assert_eq!(is_prime(0),false);
assert_eq!(is_prime(1),false);
assert_eq!(is_prime(12),false)
}

#[test]
fnsimple_test_true(){
assert_eq!(is_prime(2),true);
assert_eq!(is_prime(3),true);
assert_eq!(is_prime(41),true)
}
}
构建并运行你的Python模块$ cd my_project $ maturin develop这个命令构建原生Rust模块并将其部署到当前虚拟环境中。
import my_project print(my_project.is_prime(12)) print(my_project.is_prime(11)) > False > True在幕后,maturin develop命令:
[build-system] requires = ["maturin>=0.12"] build-backend = "maturin"测试你的模块
→ toml «my_project/pyproject.toml»= [build-system] requires =["maturin>=0.12"] build-backend ="maturin" [project.optional-dependencies] test =[ "hypothesis", "sympy" ] [project] name ="my_project" requires-python =">=3.6" classifiers =[ "Programming Language :: Rust", "Programming Language :: Python :: Implementation :: CPython", ]现在我们可以运行maturin develop命令。
$ cd my_project $ maturin develop --extras test (1)(1) 使用选项 --extras test,Maturin会安装Python测试依赖项。
→ Python«my_project/test/test.py»=

from hypothesis import settings,Verbosity, given
from hypothesis import strategies as st
from sympy.ntheory import isprime
import my_project

@given(s=st.integers(min_value=1, max_value=2**10))
@settings(verbosity=Verbosity.normal, max_examples=500)
def test_is_prime(s):
assertisprime(s)== my_project.is_prime(s)

if __name__ =="__main__":
test_is_prime()
最后,我们可以运行基于属性的Python测试。
$ cd my_project
$ python test/test.py
以及我们的Rust测试。
$ cd my_project
$ cargo test