前两天,在群里看见一个视频,视频中,作者截图twitter首页,然后使用截图直接生成与截图布局非常相近的前端项目,效果还是比较惊艳的。今天陪老婆回老家,路上clone这个项目的代码到本地,学习了一下,整体还是很直观的。
项目github:
https://github.com/abi/screenshot-to-code
进入项目,就可以看见它的README.md中给出的效果,因为视频号放视频很麻烦,就截图示意一下。
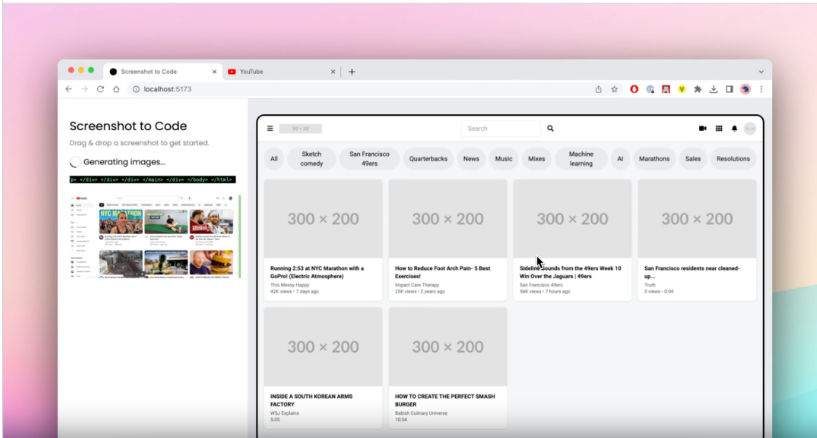
本文主要是学习一下作者是怎么实现截图到相似布局这个核心功能的,当然看完后,我也学到一些其他编程技巧,一同记录一下。
截图到布局的核心逻辑
一句话总结:使用gpt-4-vision-preview识别图片并配合提示词,直接让GPT4生成相应的HTML代码。项目分为frontend和backend,frontend最核心的就是将你的截图转成base64字符串然后通过websocket发送给backend接口。
frontend是react+tailwindcss来开发的,海外很多人都用这套(我现在也用这套为主),核心代码如下:
// src/generateCode.ts

// 生成代码
export function generateCode(
  params: CodeGenerationParams,
  onChange: (chunk: string) => void,
  onSetCode: (code: string) => void,
  onStatusUpdate: (status: string) => void,
  onComplete: () => void
) {
  const wsUrl = `${WS_BACKEND_URL}/generate-code`;
  console.log("Connecting to backend @ ", wsUrl);
  // 堆代码 duidaima.com
  // 实例化 websocket 对象
  const ws = new WebSocket(wsUrl);

  // 建立 websocket 连接
  ws.addEventListener("open", () => {
    ws.send(JSON.stringify(params));
  });

  // 接受 websocket 信息
  ws.addEventListener("message", async (event: MessageEvent) => {
    const response = JSON.parse(event.data);
    if (response.type === "chunk") {
      onChange(response.value);
    } else if (response.type === "status") {
      onStatusUpdate(response.value);
    } else if (response.type === "setCode") {
      // 接受到后端生成的代码,设置到setCode变量中(setCode会被实时展示出来)
      onSetCode(response.value);
    } else if (response.type === "error") {
      console.error("Error generating code", response.value);
      toast.error(response.value);
    }
  });

 // websocket 关闭
  ws.addEventListener("close", (event) => {
    console.log("Connection closed", event.code, event.reason);
    if (event.code != 1000) {
      console.error("WebSocket error code", event);
      toast.error(ERROR_MESSAGE);
    } else {
      onComplete();
    }
  });

  ws.addEventListener("error", (error) => {
    console.error("WebSocket error", error);
    toast.error(ERROR_MESSAGE);
  });
}
backend使用fastapi构建的,通过@app.websocket("/generate-code")就可以构建出支持websocket的api接口了,非常方便。当backend收到图片的base64后,会使用gpt-4-vision来进行代码生成,vision相关的用法请自行看文档:https://platform.openai.com/docs/guides/vision
在这个项目中,提示词如下:
def assemble_prompt(image_data_url):
    return [
        {"role": "system", "content": SYSTEM_PROMPT},
        {
            "role": "user",
            "content": [
                {
                    "type": "image_url",
                    "image_url": {"url": image_data_url, "detail": "high"},
                },
                {
                    "type": "text",
                    "text": USER_PROMPT,
                },
            ],
        },
    ]
其中,比较关键是SYSTEM_PROMPT,内容如下:
You are an expert Tailwind developer
You take screenshots of a reference web page from the user, and then build single page apps
using Tailwind, HTML and JS.
You might also be given a screenshot of a web page that you have already built, and asked to
update it to look more like the reference image.

- Make sure the app looks exactly like the screenshot.
- Pay close attention to background color, text color, font size, font family,
padding, margin, border, etc. Match the colors and sizes exactly.
- Use the exact text from the screenshot.
- Do not add comments in the code such as "<!-- Add other navigation links as needed -->" and "<!-- ... other news items ... -->" in place of writing the full code. WRITE THE FULL CODE.
- Repeat elements as needed to match the screenshot. For example, if there are 15 items, the code should have 15 items. DO NOT LEAVE comments like "<!-- Repeat for each news item -->" or bad things will happen.
- For images, use placeholder images from https://placehold.co and include a detailed description of the image in the alt text so that an image generation AI can generate the image later.

In terms of libraries,

- Use this script to include Tailwind: <script src="https://cdn.tailwindcss.com"></script>
- You can use Google Fonts
- Font Awesome for icons: <link rel="stylesheet" href="https://cdnjs.cloudflare.com/ajax/libs/font-awesome/5.15.3/css/all.min.css"></link>

Return only the full code in <html></html> tags.
Do not include markdown "```" or "```html" at the start or end.
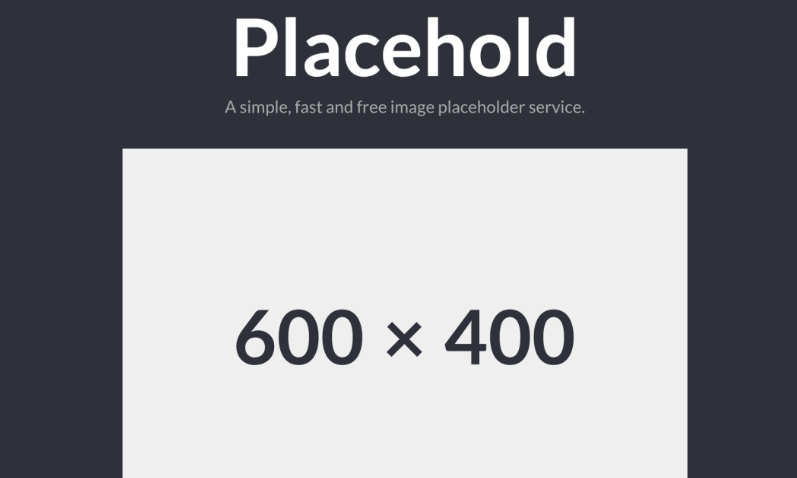
这个提示词让GPT4成为Tailwind developer,然后通过用户提供的screenshots去生成代码,使用tailwind、HTML、JS来生成页面,然后强调了样式细节要尽量与图片相同,最后说了,如果要用Tailwind,需要引入的cdn url等。就这个提示词,就可以生成图片了。当然,这里还有一个技巧,就是页面中,需要有图片资源的地方,使用了https://placehold.co服务,我看这个服务,是专门用于展示默认图片的。
生成完code后,就通过BeautifulSoup将生成code中的img都提取出来,基于img中的alt作为新的提示词,使用DALL3去生成相关的图片,相关代码如下:
async def generate_image(prompt, api_key):
    client = AsyncOpenAI(api_key=api_key)
    image_params = {
        "model": "dall-e-3",
        "quality": "standard",
        "style": "natural",
        "n": 1,
        "size": "1024x1024",
        "prompt": prompt,
    }
    res = await client.images.generate(**image_params)
    return res.data[0].url
因为整个过程需要一定的时间,所以使用了websocket.send_json方法将进行在哪一步实时发送给frontend,从而让用户感知到程序还在正常执行。
await websocket.send_json({"type": "setCode", "value": updated_html})
await websocket.send_json(
    {"type": "status", "value": "Code generation complete."}
)
结尾
以上就是项目的核心了,只能说OPENAI的GPT4确实功能强大。


 闽公网安备 35020302035485号