- 联系我们
- duidaima.com 版权声明
- 闽ICP备2020021581号
-
 闽公网安备 35020302035485号
 闽公网安备 35020302035485号
在个人或者企业服务器上,总归有要更新代码的时候,普通的做法必须先终止原来进程,因为新进程和老进程端口是一个,新进程在启动时候,必定会出现端口占用的情况,但是,还有黑科技可以让两个SpringBoot进程真正的共用同一个端口,这是另一种解决办法,我们下回分解。那么就会出现一个问题,如果此时有大量的用户在访问,但是你的代码又必须要更新,这时候如果采用上面的做法,那么必定会导致一段时间内的用户无法访问,这段时间还取决于你的项目启动速度,那么在单体应用下,如何解决这种事情?
设计思路
这里涉及到几处源码类的知识,如下。2.DispatcherServlet是如何传递给Servlet容器的
public class Main {
    public static void main(String[] args) {
        try {
            // 堆代码 duidaima.com
            Tomcat tomcat = new Tomcat();
            tomcat.getConnector();
            tomcat.getHost();
            Context context = tomcat.addContext("/", null);
            tomcat.addServlet("/","index",new HttpServlet(){
                @Override
                protected void doGet(HttpServletRequest req, HttpServletResponse resp) throws ServletException, IOException {
                    resp.getWriter().append("hello");
                }
            });
            context.addServletMappingDecoded("/","index");
            tomcat.init();
            tomcat.start();
        }catch (Exception e){}
    }
}
在 SpringBoot 源码中,根据你引入的 Servlet 容器依赖,通过下面代码可以获取创建对应容器的工厂,拿 Tomcat 来说,创建 Tomcat 容器的工厂类是TomcatServletWebServerFactory。private static ServletWebServerFactory getWebServerFactory(ConfigurableApplicationContext context) {
String[] beanNames = context.getBeanFactory().getBeanNamesForType(ServletWebServerFactory.class);
return context.getBeanFactory().getBean(beanNames[0], ServletWebServerFactory.class);
}
调用ServletWebServerFactory.getWebServer就可以获取一个 Web 服务,他有 start、stop 方法启动、关闭 Web 服务。而 getWebServer 方法的参数很关键,也是第二个问题,DispatcherServlet 是如何传递给 Servlet 容器的。
SpringBoot 并不像上面 Tomcat 的例子一样简单的通过tomcat.addServlet把 DispatcherServlet 传递给 Tomcat,而是通过个 Tomcat 主动回调来完成的,具体的回调通过ServletContainerInitializer接口协议,它允许我们动态地配置 Servlet、过滤器。SpringBoot 在创建 Tomcat 后,会向 Tomcat 添加一个此接口的实现,类名是TomcatStarter,但是TomcatStarter也只是一堆 SpringBoot 内部ServletContextInitializer的集合,简单的封装了一下,这些集合中有一个类会向 Tomcat 添加 DispatcherServlet。
protected static Collection<ServletContextInitializer> getServletContextInitializerBeans(ConfigurableApplicationContext context) {
return new ServletContextInitializerBeans(context.getBeanFactory());
}
到这里所有用到的都准备完毕了,思路也很简单。在第三步和第四步之间,速度很快的,这样就达到了无缝更新代码的目的。
@SpringBootApplication()
@EnableScheduling
public class WebMainApplication {
public static void main(String[] args) {
String[] newArgs = args.clone();
int defaultPort = 8088;
boolean needChangePort = false;
if (isPortInUse(defaultPort)) {
newArgs = new String[args.length + 1];
System.arraycopy(args, 0, newArgs, 0, args.length);
newArgs[newArgs.length - 1] = "--server.port=9090";
needChangePort = true;
}
ConfigurableApplicationContext run = SpringApplication.run(WebMainApplication.class, newArgs);
if (needChangePort) {
String command = String.format("lsof -i :%d | grep LISTEN | awk '{print $2}' | xargs kill -9", defaultPort);
try {
Runtime.getRuntime().exec(new String[]{"sh", "-c", command}).waitFor();
while (isPortInUse(defaultPort)) {
}
ServletWebServerFactory webServerFactory = getWebServerFactory(run);
((TomcatServletWebServerFactory) webServerFactory).setPort(defaultPort);
WebServer webServer = webServerFactory.getWebServer(invokeSelfInitialize(((ServletWebServerApplicationContext) run)));
webServer.start();
((ServletWebServerApplicationContext) run).getWebServer().stop();
} catch (IOException | InterruptedException ignored) {
}
}
}
private static ServletContextInitializer invokeSelfInitialize(ServletWebServerApplicationContext context) {
try {
Method method = ServletWebServerApplicationContext.class.getDeclaredMethod("getSelfInitializer");
method.setAccessible(true);
return (ServletContextInitializer) method.invoke(context);
} catch (Throwable e) {
throw new RuntimeException(e);
}
}
private static boolean isPortInUse(int port) {
try (ServerSocket serverSocket = new ServerSocket(port)) {
return false;
} catch (IOException e) {
return true;
}
}
protected static Collection<ServletContextInitializer> getServletContextInitializerBeans(ConfigurableApplicationContext context) {
return new ServletContextInitializerBeans(context.getBeanFactory());
}
private static ServletWebServerFactory getWebServerFactory(ConfigurableApplicationContext context) {
    String[] beanNames = context.getBeanFactory().getBeanNamesForType(ServletWebServerFactory.class);

    return context.getBeanFactory().getBean(beanNames[0], ServletWebServerFactory.class);
}
}
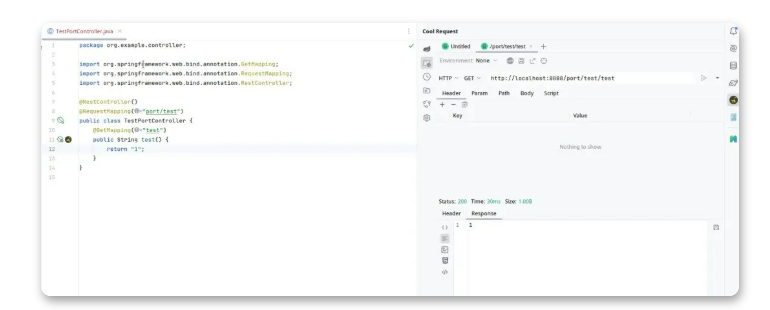
测试@RestController()
@RequestMapping("port/test")
public class TestPortController {
@GetMapping("test")
public String test() {
return "1";
}
}
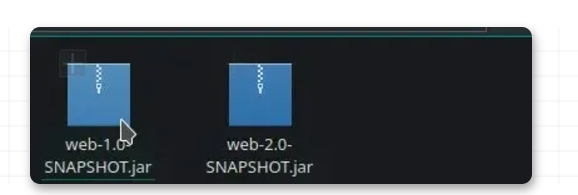
并且打包成 jar,然后更改返回值为 2,并打包成 v2 版本的 jar 包,此时有两个代码,一个新的一个旧的。

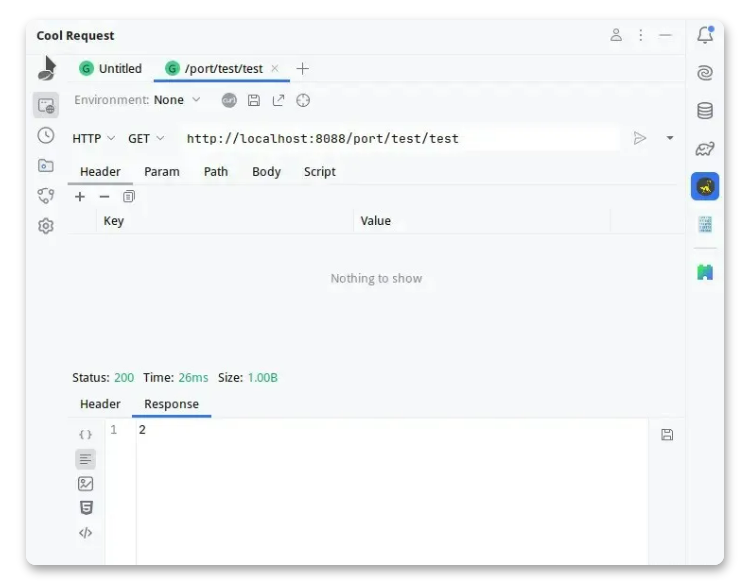
好的我们不用关闭 v1 的进程,直接启动 v2 的 jar 包,并且启动后,可以一直在 Cool Request 测试接口时间内的可用程度。稍等后,就会看到 v2 代码已经生效,而在这个过程中,服务只有极短的时间不可用,不会超过1秒。
