- 联系我们
- duidaima.com 版权声明
- 闽ICP备2020021581号
-
 闽公网安备 35020302035485号
闽公网安备 35020302035485号

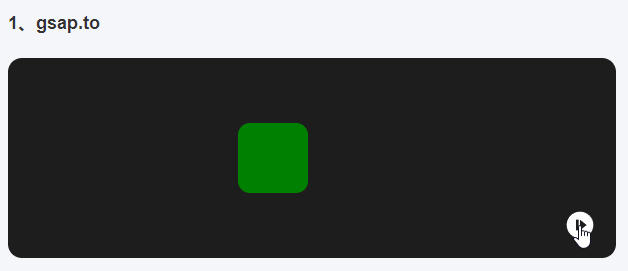
gsap.to('.box', { x: 200 });

// 堆代码 duidaima.com
// CSS选择器
gsap.to(".box", { x: 200 });
gsap.to("#box1", { x: 200 });

// dom元素
const box = document.querySelector(".box");
gsap.to(box, { x: 200 })

// 元素数组
let square = document.querySelector(".square");
let circle = document.querySelector(".circle");

gsap.to([square, circle], { x: 200 })
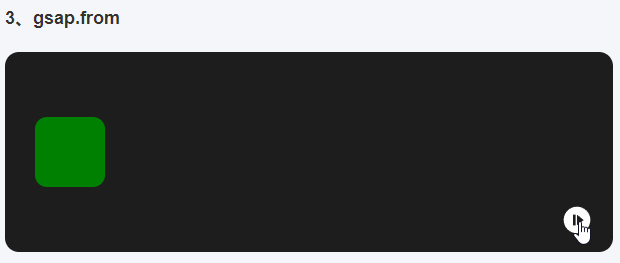
然后是函数,有四种类型的动画函数:gsap.from(".box", {
x: 300,
});
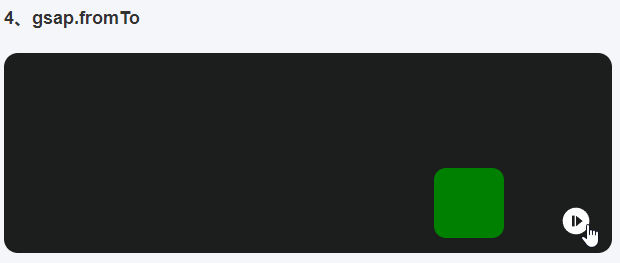
gsap.fromTo(
  ".box",
  {
    x: 0,
    y: 0,
  },
  {
    x: 400,
    y: 50,
  },
);
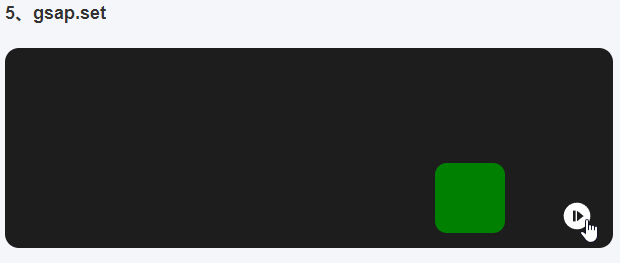
gsap.set(".box", {
  x: 400,
  y: 50,
});
gsap.to(target, {
  x: 400,
  y: 50,
  rotation: 180,
  // 特殊属性
  duration: 3,
  repeat: 2
});

transform: rotate(360deg) translateX(10px) translateY(50%);GSAP提供了下面的缩写形式,上面的transforms属性可以直接缩写成下面的属性(yPercent表示百分比元素的高度):
{ rotation: 360, x: 10, yPercent: 50 }
❝GSAP支持CSS属性转为小驼峰形式,例如background-color变成backgroundColor❞x: 200, // 默认px x: "+=200" // 相对值 x: '40vw', // 视窗单位 x: () => window.innerWidth / 2, // 函数计算 rotation: 360 // 默认角度 rotation: "1.25rad" // 使用弧度单位GSAP的神奇之处在于,不仅能够对dom元素动画,还能够对非dom元素,比如svg、js对象等进行动画操作;对于svg元素,我们添加attr属性额外的处理一些svg的属性,像width、height、fill、stroke、opacity等。

gsap.to(".svgBox", {
  duration: 2,
  x: 100,
  xPercent: -100,
  // svg属性
  attr: {
    fill: "#8d3dae",
    rx: 50,
  },
});
甚至,我们对js对象进行动画时,不需要任何dom元素,针对任意js对象的任意属性进行动画,onUpdate函数用于监听动画的更新过程:let obj = { myNum: 10, myColor: "red" };
gsap.to(obj, {
myNum: 200,
myColor: "blue",
onUpdate: () => console.log(obj.myNum, obj.myColor)
});
| 属性名 | 描述 |
|---|---|
| duration | 动画的持续时间(单位:秒)默认0.5秒 |
| delay | 动画重复次数 |
| yoyo | 布尔值,如果为true,每次其他动画就会往相反方向运动(像yoyo球)默认false |
| stagger | 每个目标动画开始之间的时间(秒) |
| ease | 控制动画期间的变化率,默认"power1.out" |
| onComplete | 动画完成时的回调函数 |
repeat属性就是重复的次数,会让动画执行多次;需要注意的是,如果我们填一个数值2,但实际动画的次数是3,因此我们总结出来公式:真实运动次数 = repeat属性 + 1。
❝如果我们想让动画一直重复下去,使用repeat: -1。❞gsap.to(".box", {
rotation: 360,
x: 300,
xPercent: -100,
duration: 2,
repeat: 2,
yoyo: true,
});
我们这边repeat写的2,实际动画中,正好是3次运动,1.5次循环往复运动。delay也非常好理解,动画开始延迟时间,如果后面是repeat重复的动画,则不会有延迟了;如果我们想要为后面的任何重复运动添加延迟,可以使用repeatDelay属性。gsap.to(".green", {
rotation: 360,
duration: 1,
delay: 1,
repeat: 1,
});
gsap.to(".purple", {
rotation: 360,
duration: 1,
repeat: 1,
repeatDelay: 1,
});

gsap.to(".green", {
  rotation: 360,
  duration: 2,
  ease: "none",
});
gsap.to(".purple", {
  rotation: 360,
  duration: 2,
  ease: "bounce.out",
});
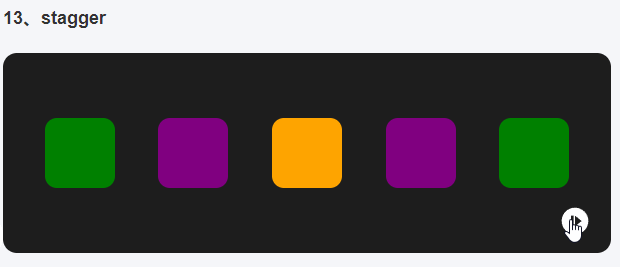
stagger属性也是比较有趣的属性,我们可以利用它控制多个目标之间动画的延迟差,形成奇妙又好看的交错效果。gsap.to(".box", {
duration: 0.5,
opacity: 0,
y: -100,
stagger: 0.1,
ease: "back.in",
});
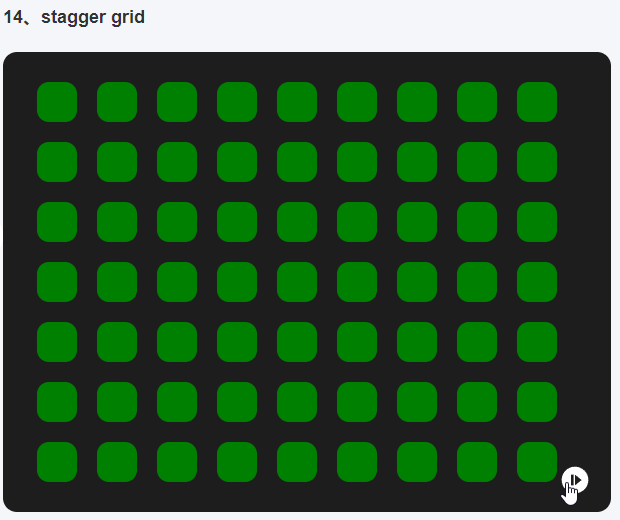
gsap.to(".box", {
  scale: 0.1,
  y: 30,
  yoyo: true,
  repeat: -1,
  ease: "power1.inOut",
  delay: 1,
  stagger: {
    amount: 1.5,
    grid: "auto",
    from: "center",
  },
});
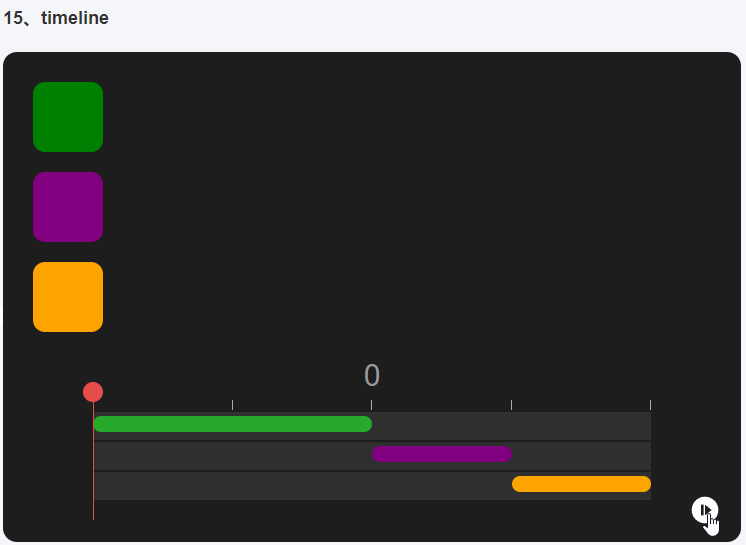
const t1 = gsap.timeline();
t1.to(".green", {
  x: 600,
  duration: 2,
});
t1.to(".purple", {
  x: 600,
  duration: 1,
});
t1.to(".orange", {
  x: 600,
  duration: 1,
});
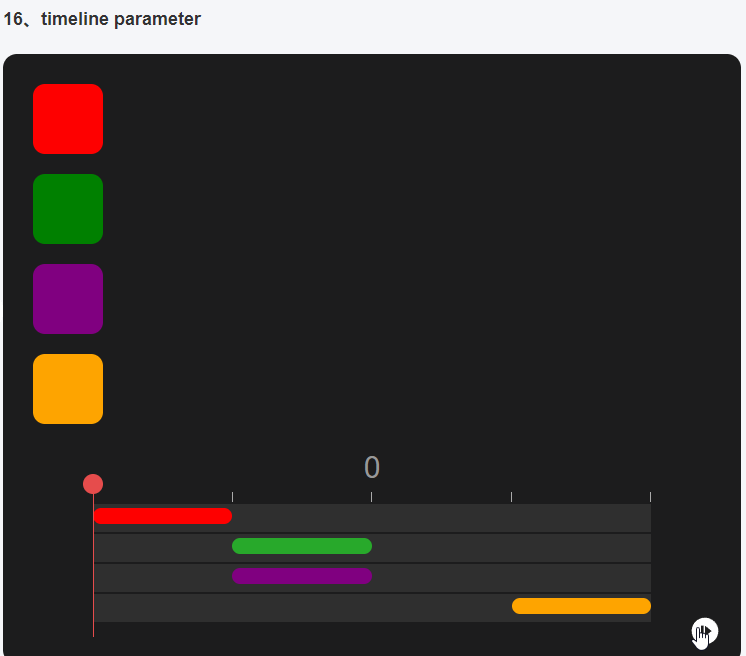
const t1 = gsap.timeline();
t1.to(".red", { x: 400,duration: 1 });
// 在1秒开始插入动画(绝对值)
t1.to(".green", { x: 400, duration: 1 }, 1);
// 在上个动画的开始插入动画
t1.to(".purple", { x: 400, duration: 1 }, "<");
// 在最后一个动画结束后一秒插入动画
t1.to(".orange", { x: 400, duration: 1 }, "+=1");
const t1 = gsap.timeline();
t1.to(".green", { x: 400, duration: 1 })
  .to(".purple", { x: 400, duration: 1 }, "<3")
  .to(".orange", { x: 400, duration: 1 }, ">1");

const t1 = gsap.timeline();
t1.to(".green", { x: 400, duration: 1 })
  .add("myLabel", 2)
  .to(".purple", { x: 400, duration: 1 }, "myLabel+=1")
  .to(".orange",{ x: 400, duration: 1 }, "myLabel-=1");
通过gsap.add函数,我们在2秒处放置了一个myLabel的标识,在后面使用myLabel+=1和myLabel-=1相对这个标识的时间进行控制。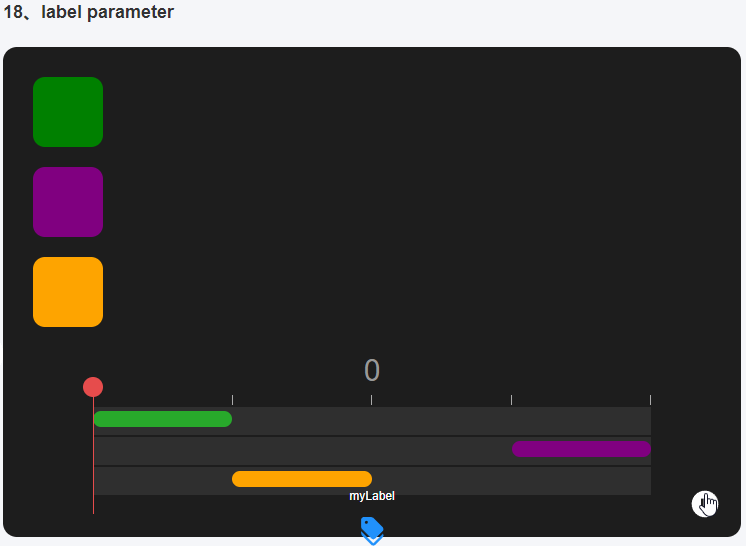
const tl = gsap.timeline({ repeat: 1, repeatDelay: 1, yoyo: true });
tl.to(".green", { rotation: 360 })
  .to(".purple", { rotation: 360 })
  .to(".orange", { rotation: 360 });
如果你发现某个属性你重复使用了很多次,比如x、scale、duration等,我们就可以使用defaults属性,任何加到defaults属性中的参数都会被下面的函数继承。const tl = gsap.timeline({
defaults: {
scale: 1.2,
duration: 2,
},
});
tl.to(".green", {
x: 200,
})
.to(".purple", {
x: 400,
})
.to(".orange", {
x: 600,
});
回调函数gsap.to(".class", {
x: 100,
onComplete: () => console.log("the tween is complete")
}
// 时间线所有动画结束时调用
gsap.timeline({onComplete: tlComplete});
function tlComplete() {
console.log("the tl is complete");
// ...
}
ScrollTriggerimport { ScrollTrigger } from "gsap/ScrollTrigger";
gsap.registerPlugin(ScrollTrigger);
gsap.to(".green", {
rotation: 360,
scale: 1.5,
backgroundColor: "red",
scrollTrigger: {
trigger: ".green",
scrub: true,
},
});
gsap.to(".purple", {
rotation: 360,
scale: 1.5,
backgroundColor: "red",
scrollTrigger: {
trigger: ".purple",
scrub: 1,
},
});
使用前当然要对插件进行注册了,使用gsap.registerPlugin将ScrollTrigger注册,否则我们在下面操作时会发现没有任何效果。在to函数中我们新增了一个scrollTrigger属性,trigger表示当前动画触发的元素,这个很好理解,我们使用当前元素;markers是否进行标记,scrub表示是否将动画效果链接到滚动条,随着滚动条平滑处理;如果是false(默认),随着元素出现在视窗内,直接触发动画,如果是true,则平滑动画,我们看下效果:gsap.to(".green", {
x: 400,
duration: 2,
scrollTrigger: {
trigger: ".green",
pin: ".purple",
},
});
start和end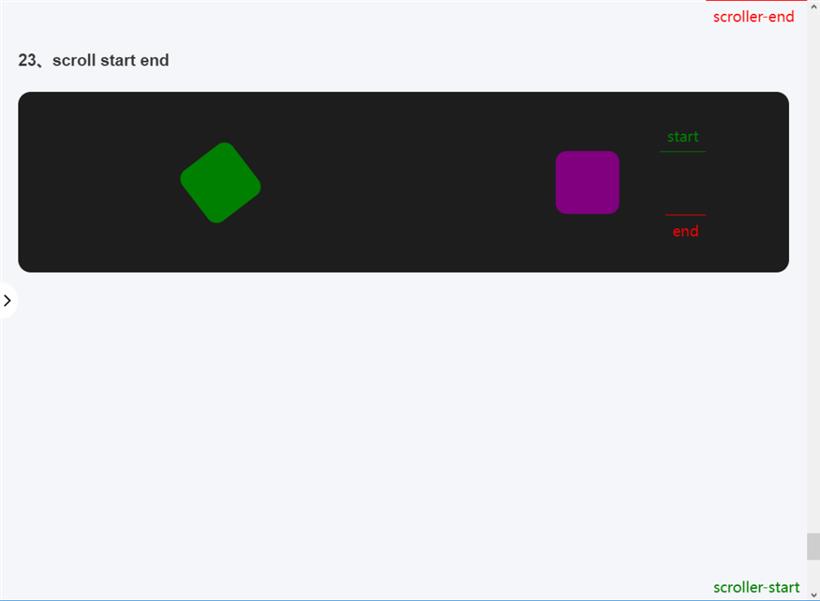
const tl = gsap.timeline({
  scrollTrigger: {
    trigger: ".wrap",
    scrub: true,
  },
});
tl.to(".green", {
  x: 200,
});
tl.to(".purple", {
  x: 400,
});
总结